Organizations
Bring your team into Polaris, invite people, choose their roles, and keep personal work private.
An organization is your team in Polaris. It holds your Projects, Sessions and Machines, and the setup everyone shares, such as GitHub access, variables and agent accounts. Your Personal organization is only for you; create a team organization when other people should work with you.
Create a team organization
In Settings, open the menu at the top of the section list and choose Create organization…. Give it a name and confirm. You become its Owner, and your Personal Projects stay private.
To bring your existing work along instead, choose Personal at the top of Settings, open General and select Turn into team organization. Name it and confirm. Your Projects, Sessions and settings stay, and:
- Every Session becomes private. To show one to others, share it.
- If you connected a personal GitHub account, tick Let members use repositories from … to continue.
- Polaris creates a new, empty Personal organization for you.
- You can’t turn it back into Personal.
Invite people
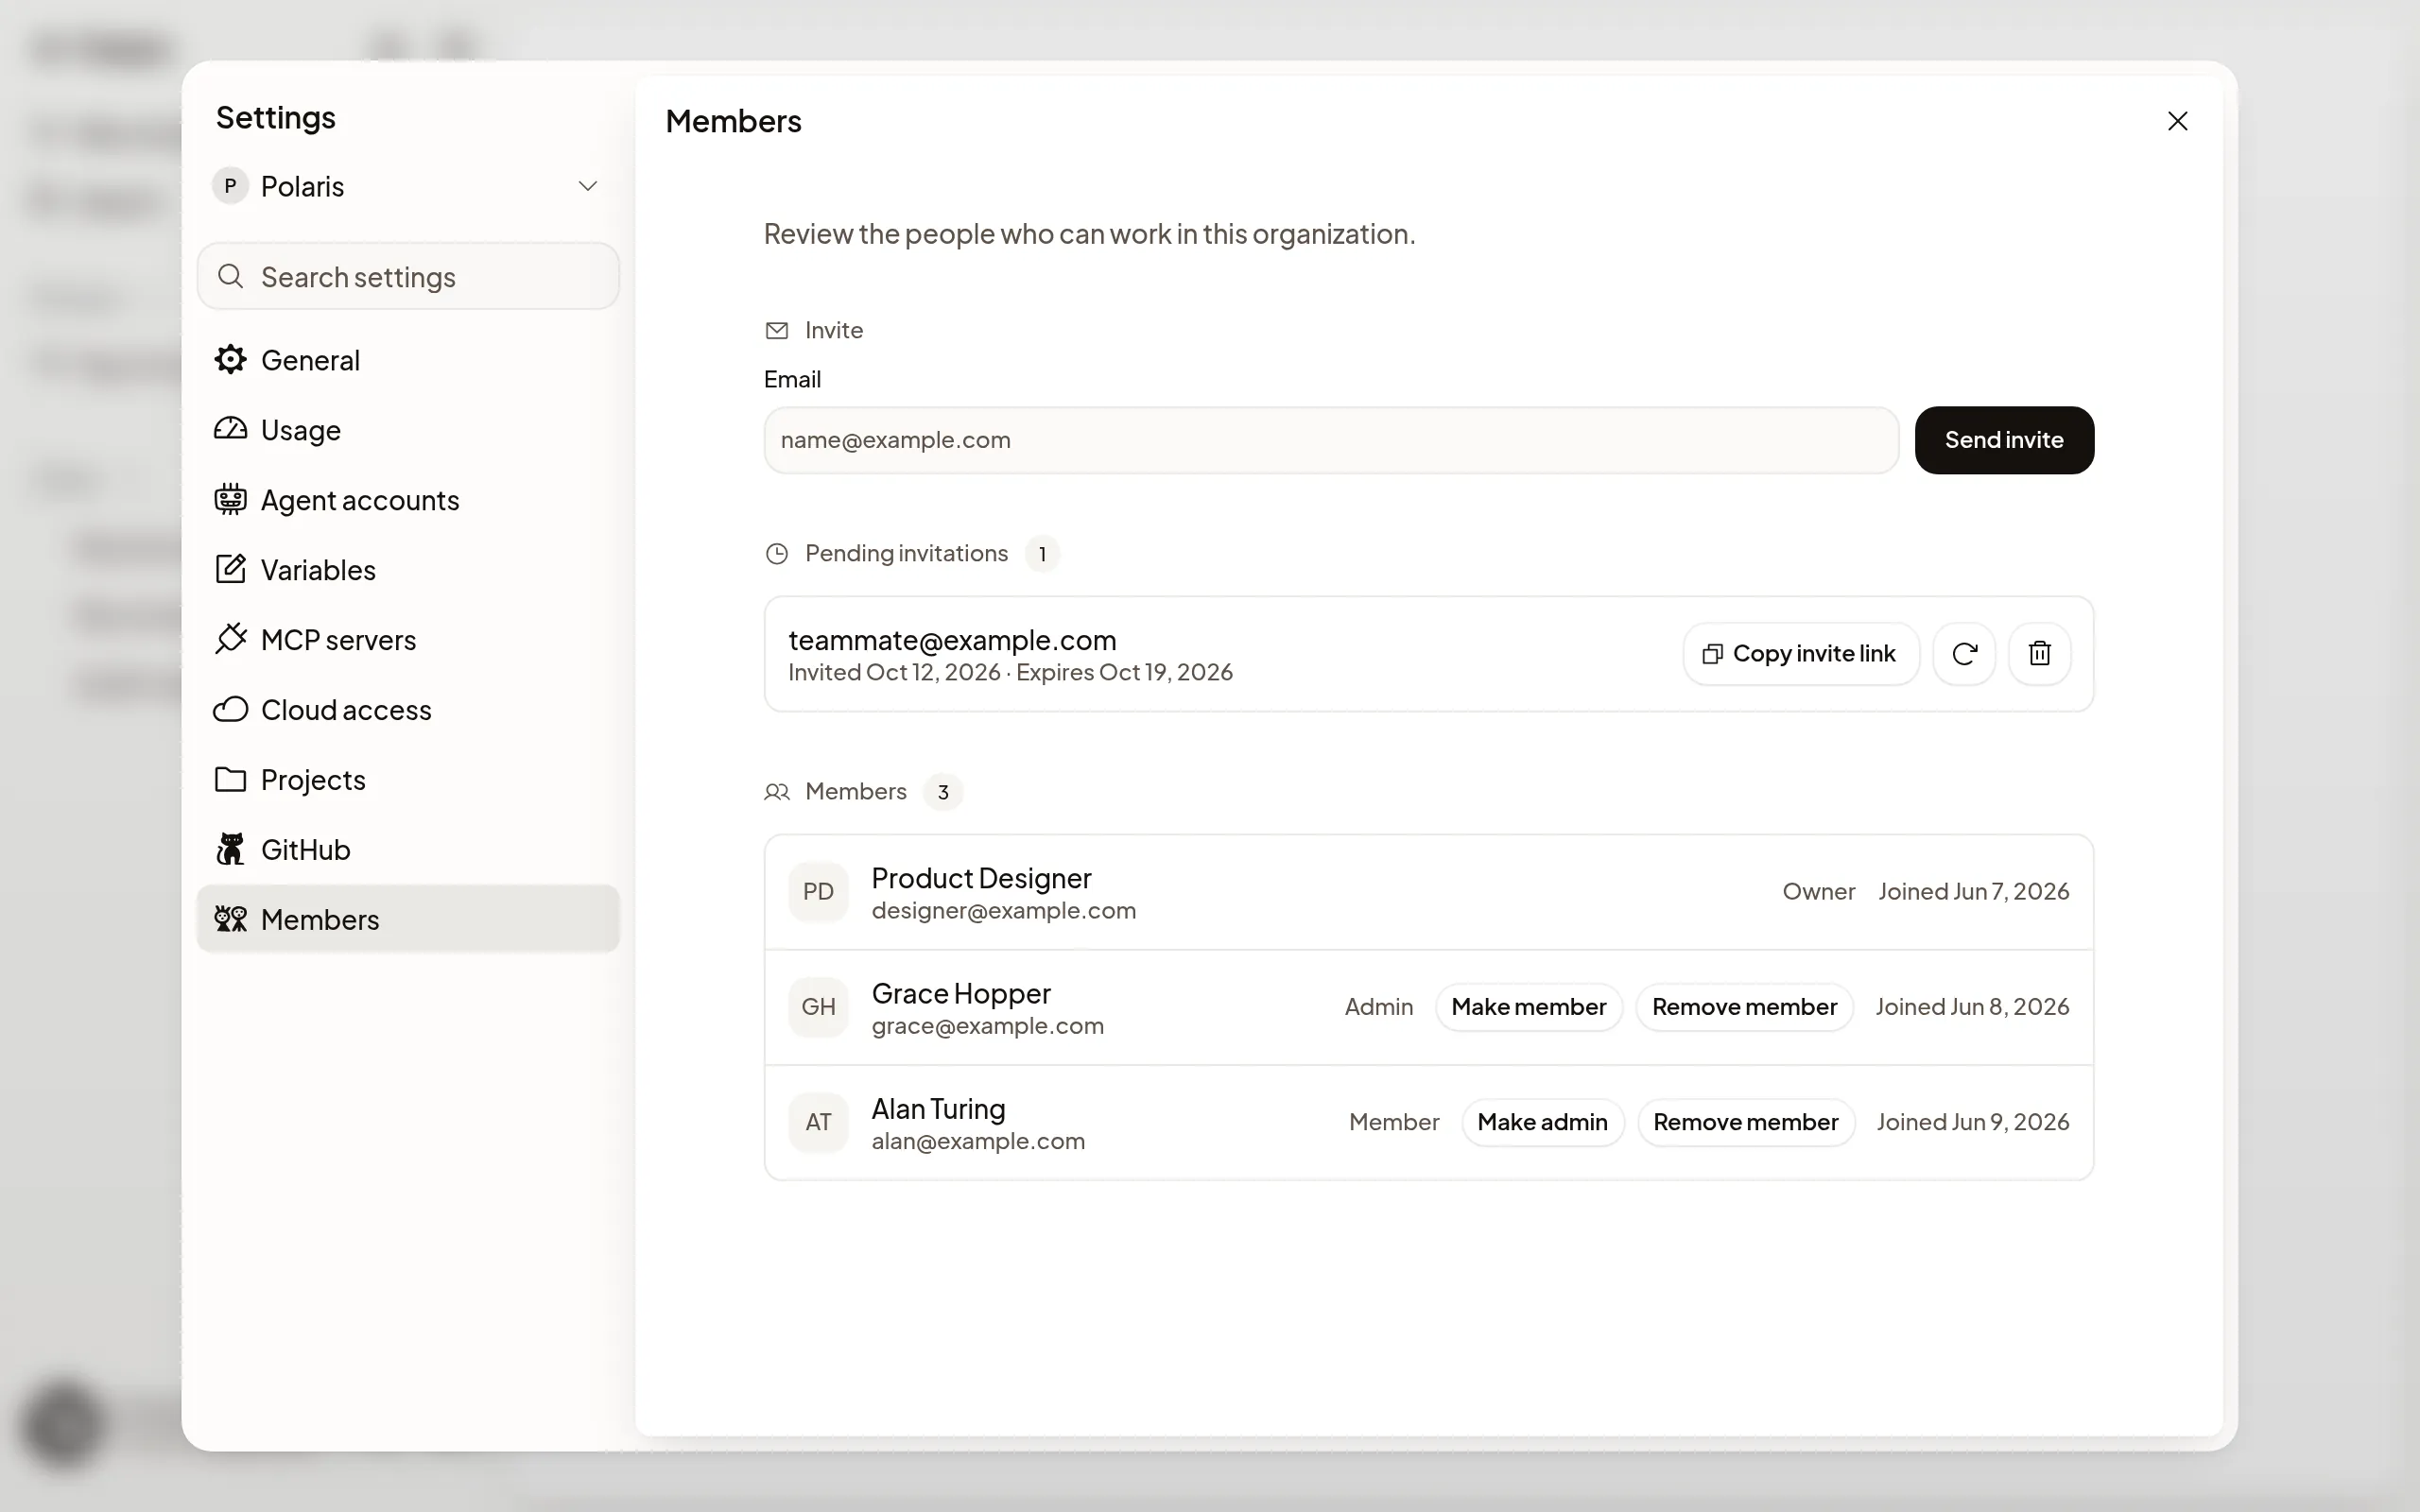
Owners and Admins choose the organization at the top of Settings, open Members, enter an email address and select Send invite. Everyone joins as a Member. Under Pending invitations, select Copy invite link to send the link yourself, Resend to email it again, or Revoke to cancel it.
The person opens the link, signs in with GitHub using the invited email address, and selects Accept invitation. If they’re new to Polaris, the Quickstart walks them through the rest.
Choose your avatar
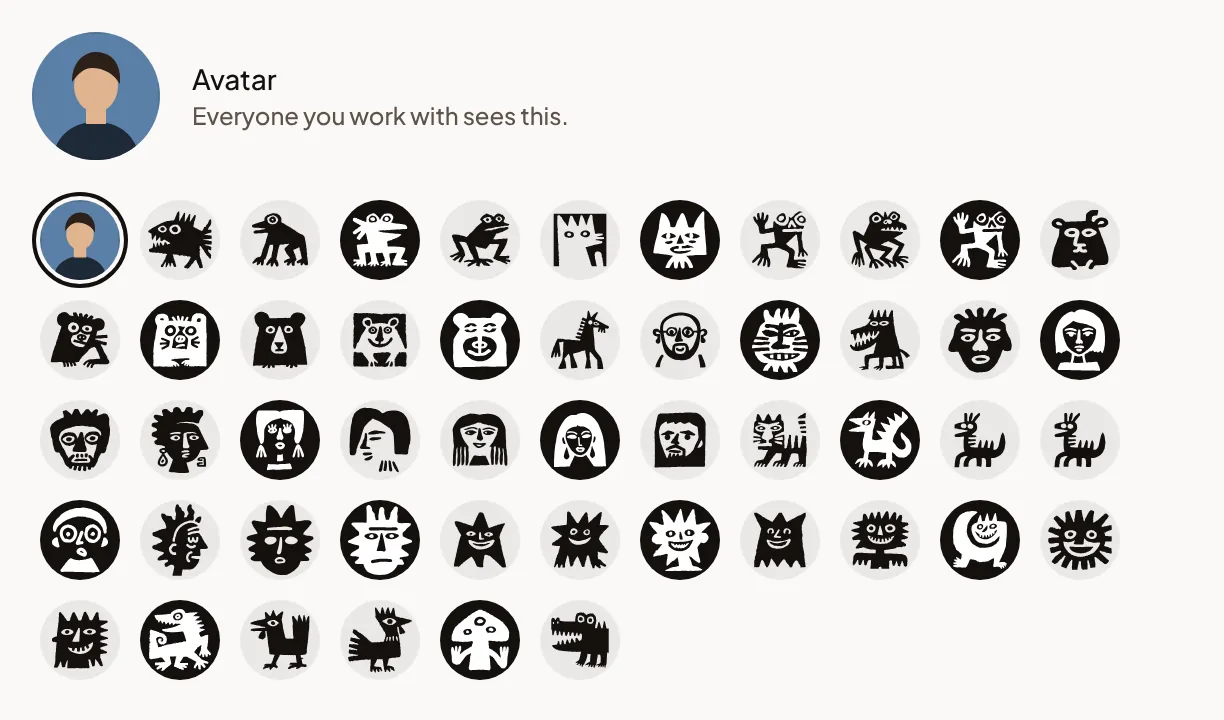
Your avatar is the same everywhere people see you in Polaris: in shared Sessions, the member list and access lists. Open Settings → Profile and choose a drawing under Avatar, or choose Photo from GitHub when your account has a GitHub photo. Your choice applies immediately.
You can also select your avatar in the expanded sidebar or the mobile Settings hub to open the picker. In the compressed sidebar, your avatar opens Settings.
Until you choose, Polaris shows your GitHub photo, or a drawing if you have no photo. Your photo follows GitHub whenever you sign in again. A drawing you choose stays your avatar until you change it.
Roles
Each organization has one Owner. Everyone else is an Admin or a Member.
- Member: starts Sessions in the organization’s Projects and uses what’s set up there, such as variables, MCP servers and shared agent accounts, unless it’s limited to certain people. Sees the Sessions others share.
- Admin: everything a Member can do, plus watching any Session in the organization, inviting people, removing Members, renaming the organization, and managing its GitHub access, variables, MCP servers, agent accounts, agent instructions, Cloud access and groups.
- Owner: everything an Admin can do, plus Make admin, Make member and removing Admins.
Owners and Admins can also create groups in Settings → Members → Groups, to give variables and MCP servers to several people at once. See Environment variables.
Switch between organizations
Your sidebar shows work from every organization you belong to. To see only some, open List options, then Filter → Organization. A Session belongs to the organization that owns its Project, so to start work in another organization, pick one of its Projects on Start. To manage an organization, choose it at the top of Settings.
Choose whether to create recaps
Owners and Admins manage Conversation recaps in the organization’s Settings → General → Recaps. See Conversation recaps for what the switch controls and how Session content is used.
Check your usage
Settings → Usage shows how much of the organization’s monthly allowance is used and left, in dollars, and a chart of what was used each day. Under Machines, each Machine shows what it used this month and its Price per hour. Owners, Admins and Members see the same totals; Members see only the Machines they started or own.
A Machine uses the allowance for each second it’s awake. Its price per hour depends on the CPU and memory you chose for it, not on how much it uses, so a Machine with less memory costs less. See Change its CPU and memory.
At 75% and 90% of the allowance, the sidebar shows how much is left, such as $2 left. Select View usage to open Settings → Usage. Owners and Members see the same warning. On a phone, open the menu drawer to see it. The warning updates as usage or the allowance changes. You can keep sending messages to the agent.
If your organization’s allowance is in hours, Usage and the warning show hours instead of dollars, and Machines shows no price. Without an allowance, Usage shows Machine hours.
Remove someone or leave
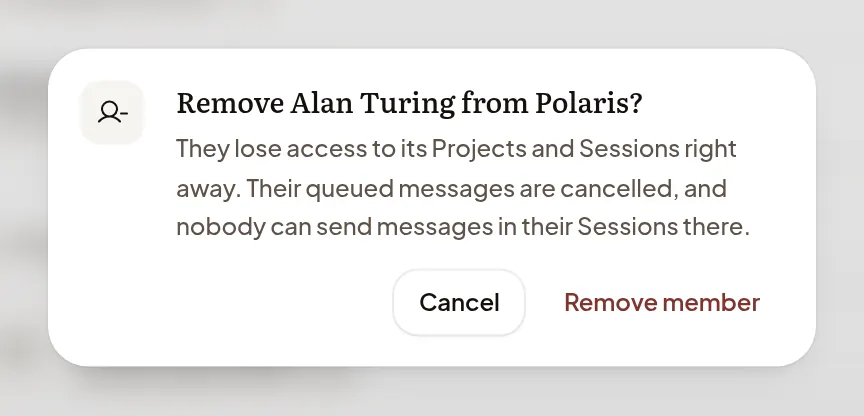
In Settings → Members, the Owner can Remove member for Admins and Members, and Admins for Members. Admins and Members can select Leave organization, then confirm with Leave organization; the Owner can’t leave. Someone who leaves or is removed loses access to the organization’s Sessions right away and needs a new invitation to join again. Messages they queued, and messages queued in Sessions they started, are cancelled, and nobody can drive their Sessions afterwards.
Polaris asks you to confirm before it removes someone.
If an invitation doesn’t work
- The invitation email couldn’t be sent: the invitation is still pending. Select Copy invite link and send it yourself.
- This invitation is for a different account: the person selects Sign out, then signs in with the invited email address.
- This invitation is no longer valid or The person who invited you has left: ask an Owner or Admin for a new invitation.