---
title: Start a Session
description: Give the agent a new task in one of your repositories.
---
**Start** is where you hand the agent a new task. Pick a repository, describe
the result you want, and Polaris gives the agent its own Machine with your code
on it. Use one Session per task: each one gets its own Machine, so you can start
several and they never get in each other's way.
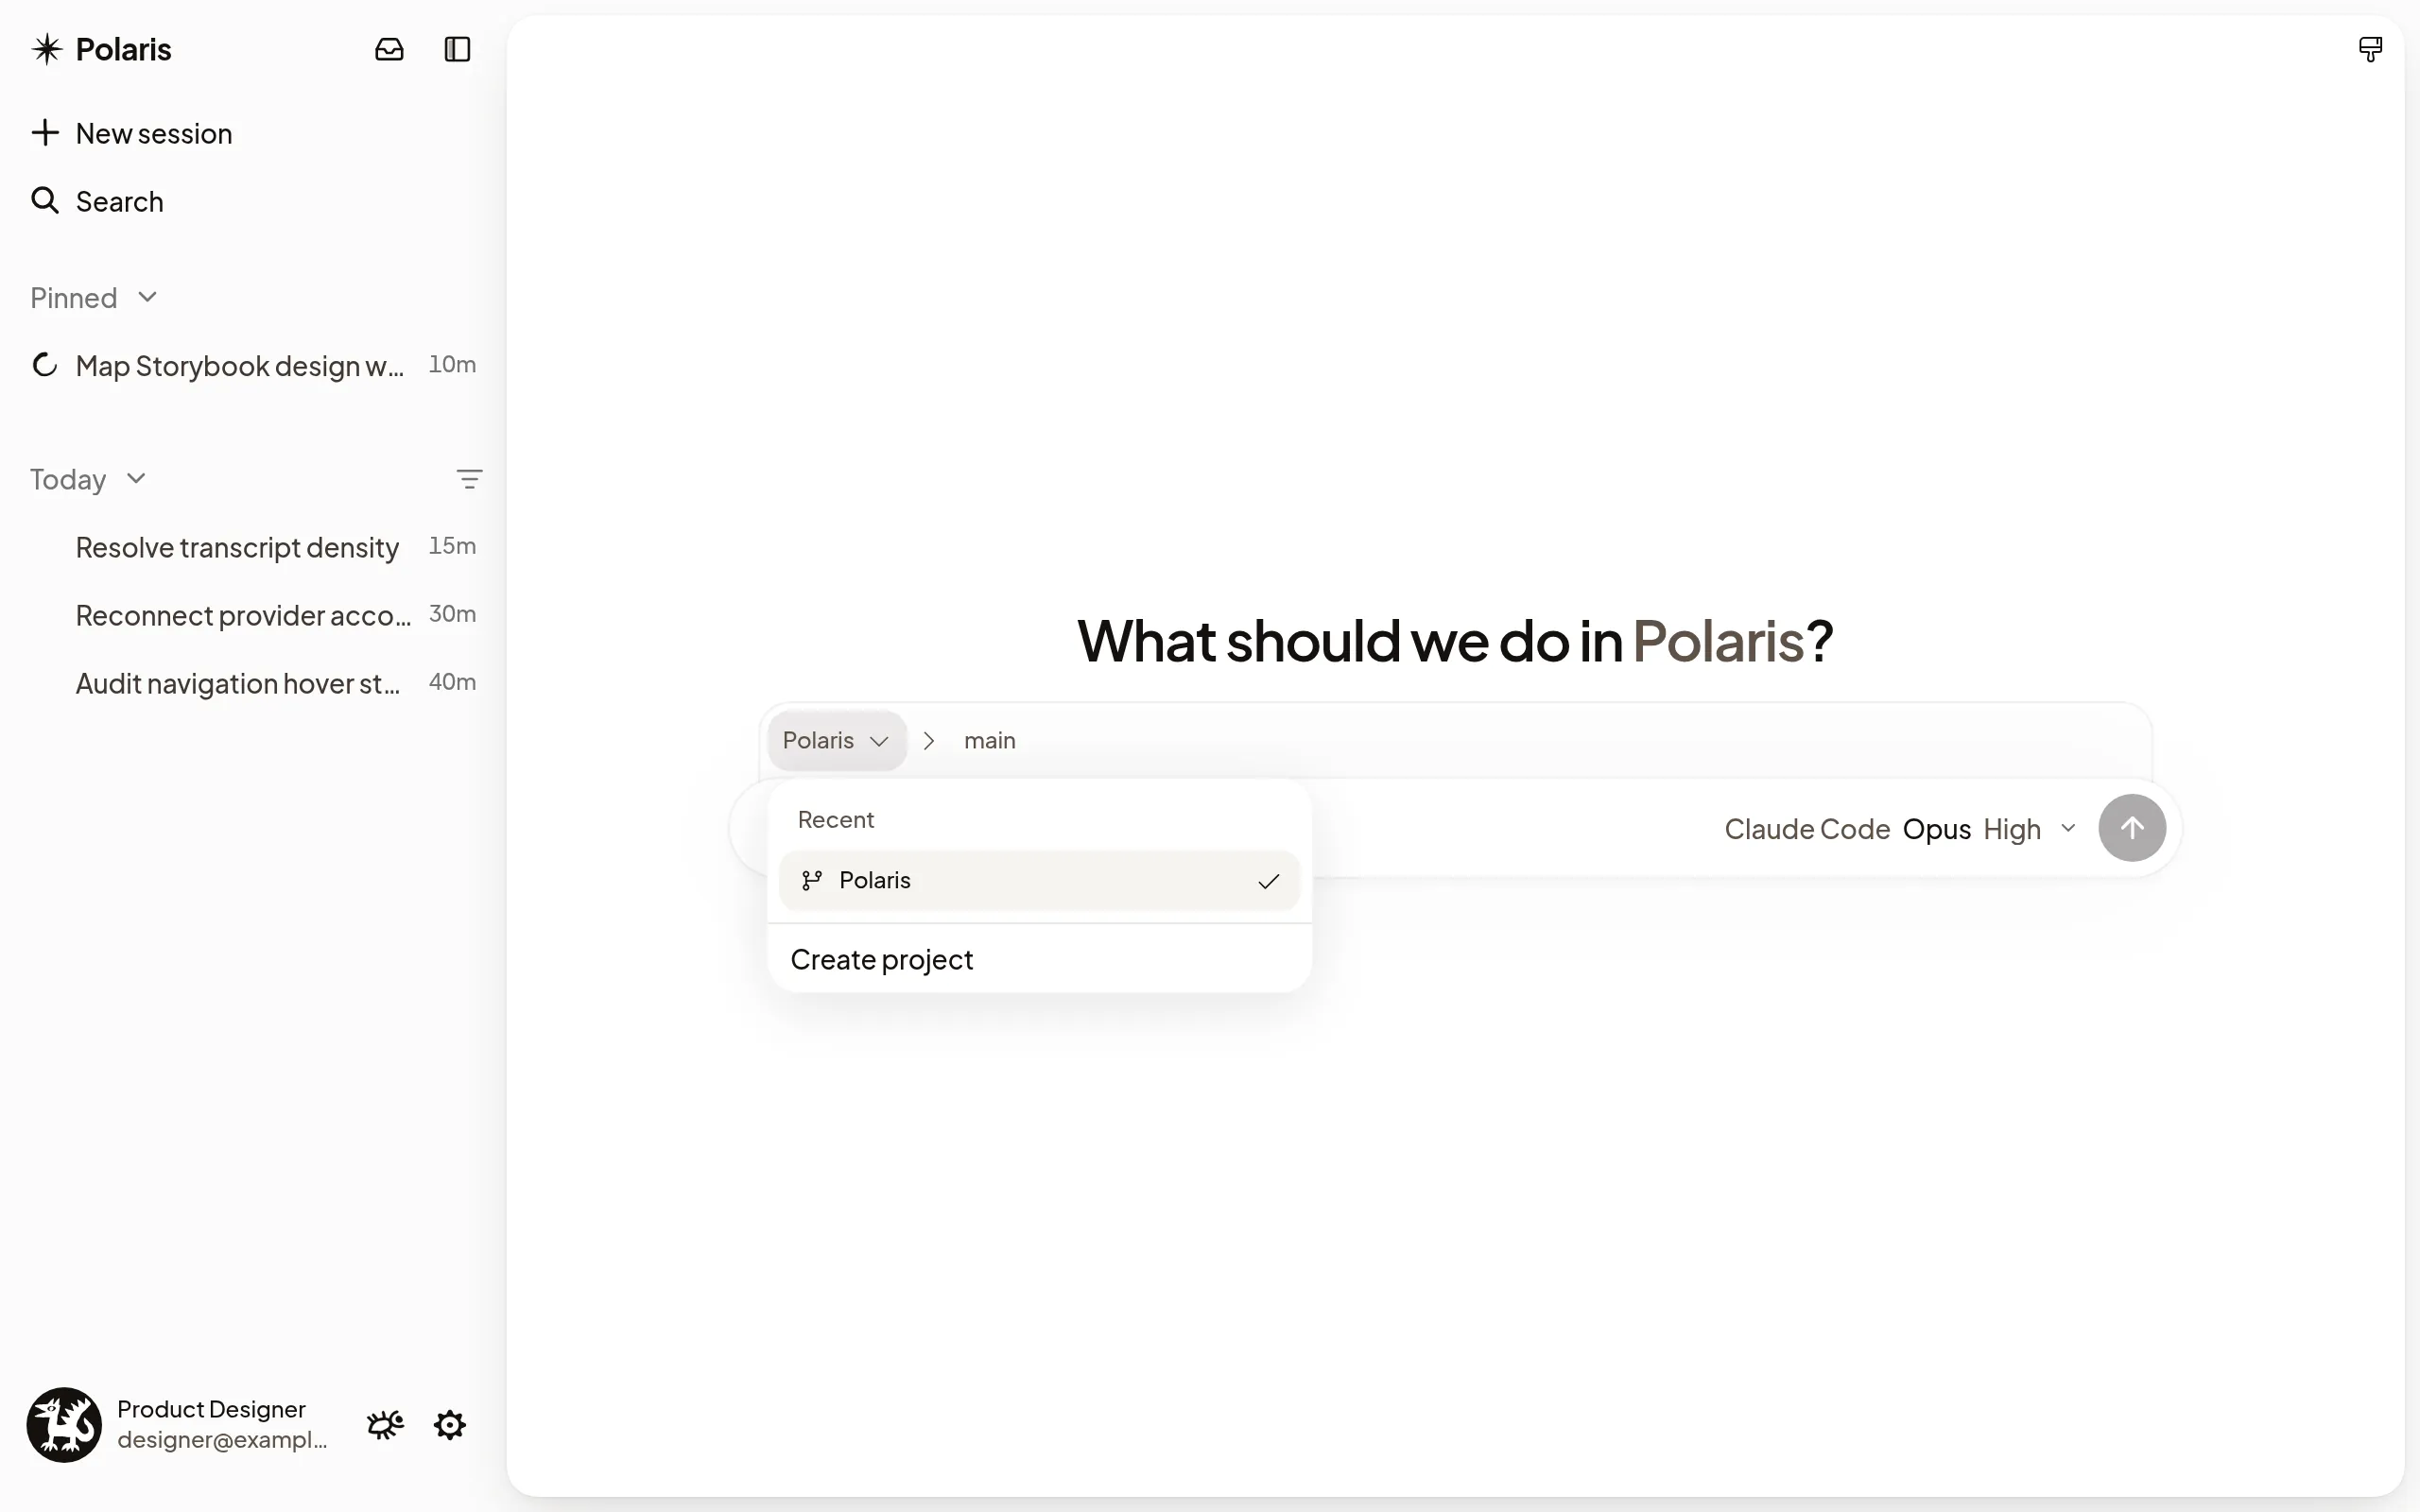
## Start a task
1. Select **New session** at the top of the sidebar, or press
Ctrl+Shift+O
(⌘+Shift+O on a Mac). To start in a Project
you already use, hover it in the sidebar and select **+**.
2. Choose the repository. **Recent** lists the Projects you work in, and **All
repositories** lists the rest Polaris can reach on GitHub.
3. Describe the task and press Enter.
Work starts from the Project's default branch, marked **Default**. To start
from another branch, select the branch next to the repository, then choose one
under **Recently committed** or type to search all of them.
## Choose the agent
The control next to **Start** shows the agent, model and effort. Select it and
choose **Codex**, **Claude Code** or **Pi** under **Agent**; when it opens on
the effort slider, select **Agent** below the slider first. The list then shows
that agent's models; pick one, or keep its default. **Recent** brings back an agent, model and
effort you used before. Start opens with your last choice next time, on every
device. See
[Agent accounts](/docs/agent-accounts) to connect an account for each agent.
The Machine the task runs on shows at the top right of the composer. Select it
to choose its CPU, memory and disk; see
[Choose its CPU, memory and disk](/docs/machines#choose-its-cpu-memory-and-disk).
Some agents also show **Permissions**. **Auto** lets routine work run on its
own and has an AI reviewer check riskier actions first. **Full access** runs
every command and edit without checks.
To show the agent something, attach screenshots, logs or other files with
**+** → **Attach files**, or drag them into the message. Type `@` to point at a
file in the repository, or `/` to use a skill. See
[The composer](/docs/composer) for more.
## What happens next
The Session opens right away with your message. A short checklist shows
Polaris creating the Machine and copying your repository onto it, then the
agent starts. You can close the tab; the agent keeps working.
To keep working on the same code later, send a follow-up in the same Session
instead of starting a new one. A new Session is private to you until you
[share it](/docs/share-a-session).
## Come back to a draft
If you leave Start before sending, Polaris keeps what you wrote under
**Drafts** at the top of the sidebar. Select it to pick up where you left off,
with your repository, branch, agent and attachments. You have one draft at a
time, and it stays in this browser only. To throw it away, select the × on its
row.
## Change how Start looks
Select **Customize Start Work**, the brush in the corner of Start, and choose
a wallpaper, **None**, or **Upload image** to use your own picture. Clear **Same
wallpaper in light and dark** to choose one for each theme. Your choice follows
your account to every device. You can also change it in **Settings →
Appearance**, under **Start Work wallpaper**.
## If it doesn't work
- **Your repository isn't listed:** select **Connect GitHub repository** and
give the Polaris GitHub App access to it. In a team, an owner or admin can
add it in **Settings → GitHub**.
- **No Codex account is connected.** (or another agent): select **Connect
Codex**. You can start anyway; your message waits until an account is
connected.
- **Machine setup failed:** select **Try setup again**. Nothing was lost.
- For other messages, see [Troubleshooting](/docs/troubleshooting).